

How to Maintain and Clean Stone Flooring in Your Kitchen
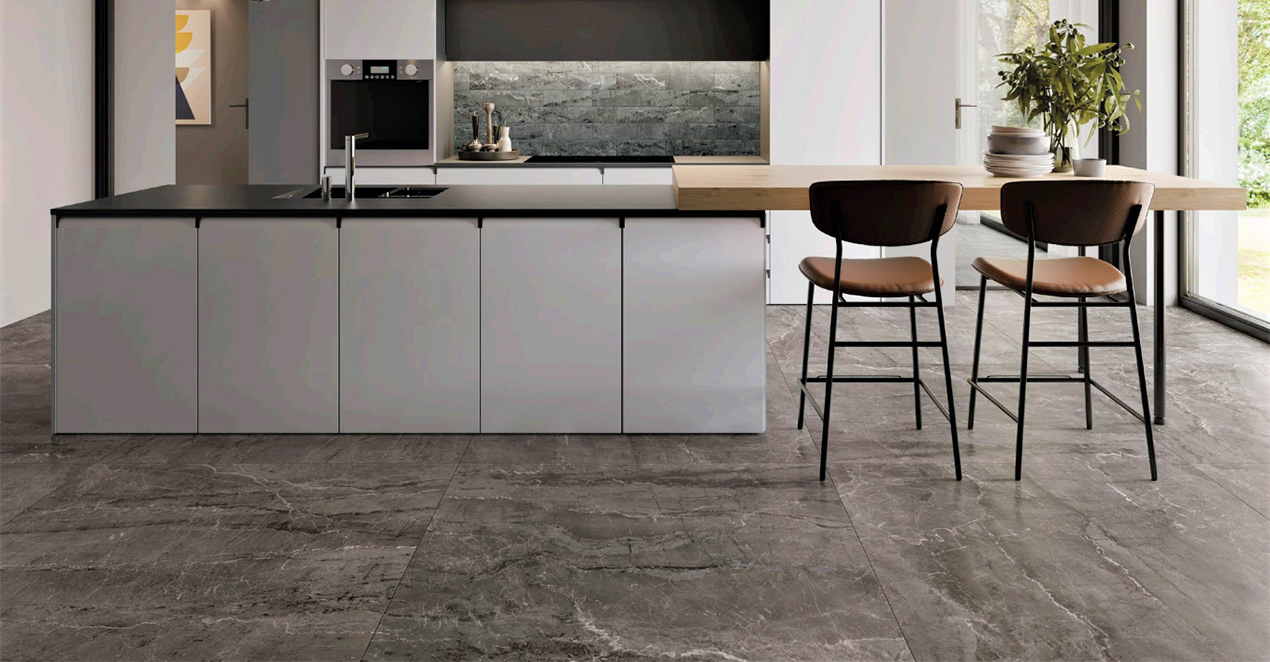
Stone flooring is a timeless and luxurious choice that adds elegance and durability to any space, especially in the kitchen — one of the most high-traffic areas in a home. At Sticks and Stones, we’ve worked with countless clients to design interiors that are not only beautiful but also built to last, and this includes selecting and maintaining natural stone floors.
But unlike synthetic alternatives, natural stone requires thoughtful care. Whether you’re renovating or maintaining your current floors, understanding how to properly clean and protect them is key to preserving their look and longevity.
In this comprehensive guide, you’ll learn everything you need to know about keeping your stone flooring for kitchens in pristine condition — from day-to-day upkeep to deep cleaning, sealing, and beyond.
Understanding Stone Flooring for Kitchens: What Makes It Special?
Natural stone has been used in homes for centuries, but its role in modern kitchens is particularly significant. With styles ranging from classic travertine to contemporary slate and honed limestone, stone brings a sense of authenticity and sophistication.
But what makes it so ideal for kitchen environments?
- Durability: Stone is incredibly hard-wearing. With the right care, it can last a lifetime.
- Heat resistance: Ideal for kitchens with underfloor heating or near cooktops.
- Aesthetic appeal: Each stone tile is unique, adding depth and texture to your design.
- Sustainability: As a natural material, stone is environmentally friendly.
Daily Cleaning: Your First Defence Against Wear and Tear
One of the best things you can do to preserve your kitchen’s stone floor is to establish a daily cleaning routine. Stone may be tough, but it can still be affected by dirt, grit, and spills.
Step-by-Step Daily Cleaning Routine:
- Dry Sweep or Vacuum: Use a soft-bristle broom or vacuum cleaner (with a non-rotating brush) to remove dust and abrasive particles. This prevents scratches and dulling.
- Mop with a pH-Neutral Cleaner: Avoid using acidic or alkaline cleaners — they can damage the stone's surface. Instead, use a damp mop with a pH-neutral stone cleaner, available at most hardware or flooring stores.
- Dry Immediately: After mopping, always dry the floor with a clean microfibre cloth. This prevents water marks and mineral deposits, especially in areas with hard water.
- Spot Cleaning Spills: Wipe up food, oil, or acidic spills (like vinegar or lemon juice) immediately to prevent staining and etching.
Weekly & Monthly Care: Go Beyond the Surface
While daily maintenance keeps your floor looking presentable, a deeper weekly or monthly clean is necessary to manage residues and maintain the natural stone’s integrity.
Weekly Tasks:
- Deep Mop with Stone-Safe Cleaner: Use warm water with a specialised stone-cleaning solution. Let the mop slightly dampen the floor rather than soak it.
- Rinse with Clean Water: This prevents chemical build-up that can dull the stone over time.
Monthly Tasks:
- Check Grout and Joints: Inspect for cracking or discolouration. Damaged grout can allow water and dirt to seep under tiles, weakening your floor.
- Test for Sealant Weakness: Drop a few droplets of water on the stone. If the water is absorbed rather than beading on the surface, it's time to reseal.
Sealing Stone Floors: How and When to Do It
One of the defining features of stone is its porosity. Unsealed stone can absorb moisture, leading to staining and weakening of the structure. That’s why sealing is an essential part of maintenance.
When Should You Seal?
- New Installations: Always seal after installation and grouting.
- Annually or Bi-Annually: High-traffic areas like kitchens typically require resealing every 12 to 18 months, depending on wear and tear.
How to Seal Your Stone Floor:
- Choose the Right Sealant: Penetrating sealers are ideal for kitchen settings, as they repel oils and moisture from within.
- Clean the Surface Thoroughly: The stone must be free from dirt and dry before sealing.
- Apply with a Microfibre Cloth or Applicator: Work in small sections. Allow to dry for the recommended time (typically 24 hours) before walking on it.
Stain Removal: The Right Way to Address Common Issues
Even with regular maintenance, accidents happen. Knowing how to treat stains immediately can prevent permanent discolouration.
Common Stains and Their Solutions:
- Oil-Based Stains (cooking oils, butter): Use a poultice made with baking soda and acetone. Apply to the stain, cover with plastic, and let it sit for 24 hours.
- Organic Stains (coffee, wine, tomato sauce): Mix hydrogen peroxide with a few drops of ammonia and apply gently.
- Rust: Commercial rust removers formulated for natural stone are effective. Avoid generic rust cleaners as they may damage the surface.
- Water Rings: These are usually surface marks and can be buffed out with a soft cloth and a little marble polishing powder.
When in doubt, always consult a stone care professional before using harsh chemicals, especially on delicate finishes like honed marble or travertine. Proper stain treatment extends the life of stone flooring for kitchens and keeps it looking like new.
Preventative Measures: Protecting Your Investment
Maintaining your stone floor isn’t just about cleaning — it’s also about prevention. By incorporating a few simple practices, you can reduce wear, prevent damage, and extend your flooring’s lifespan.
Tips for Long-Term Preservation:
- Use Rugs and Mats: Place non-slip rugs near sinks, cooktops, and entryways to catch spills and grit.
- Felt Pads on Furniture: These prevent scratching when chairs or stools are moved across the floor.
- No Harsh Chemicals: Avoid bleach, ammonia, and vinegar. They can strip the sealant and etch the stone.
- Shoe-Free Zones: Encourage removing shoes at the door to minimise tracked-in dirt and debris.
Professional Maintenance: When to Call in the Experts
While regular care goes a long way, periodic professional maintenance can help address issues beyond routine cleaning.
When Should You Hire a Stone Specialist?
- Deep-set stains that don’t respond to home remedies
- Uneven or dull surfaces that need polishing
- Damaged grout or loose tiles
- Annual sealing if you're unsure how to do it yourself
Professionals use advanced tools and industry-grade products that enhance your floor’s appearance while reinforcing its protective seal.
Keep Your Kitchen Floor Beautiful for Years to Come
Natural stone brings unmatched beauty and character to any kitchen. But like any high-end material, it demands a bit of TLC. By adopting a thoughtful maintenance routine, sealing regularly, and using the right products, your stone floors can stay as stunning as the day they were laid.
For those looking to install or revitalise their stone flooring for kitchens, working with a reputable design and installation expert is essential. Sticks and Stones offers premium design and installation services backed by decades of experience. Whether you’re planning a new kitchen or upgrading an existing space, our team is here to guide you every step of the way.
FAQs
1. Can I use vinegar or lemon juice to clean my stone kitchen floor?
No. Vinegar and lemon juice are acidic and can etch the surface of natural stone, causing dullness and permanent damage. Always use a pH-neutral stone cleaner.
2. How often should I reseal my stone flooring in the kitchen?
In a high-traffic area like the kitchen, it’s advisable to reseal your stone floor every 12 to 18 months. Test by sprinkling water — if it absorbs rather than beads, it’s time to reseal.
3. What is the best mop for cleaning stone floors?
Use a flat microfibre mop or a string mop with soft fibres. Avoid sponge mops, which can push dirty water into grout lines and unsealed areas.

